
AliciaEmmie, 15th December, University, Biomedical Sciences, Current, Makeup, Vintage, Family <3
It's been a while since I have done a post about nails so I thought you might appreciate a little tutorial showing you how you can achieve a Cath Kidston inspired print.
I have broken the design down into simple steps so that you can achieve this really pretty design.
[[I did this design on my Mom's nails as mine were already painted]]
You will need :
Base coat,
Main colour,
White, green and two shades of pink nail art pens,
Topcoat.
It is important to allow the coats to dry between steps.

Apply a base coat. I use AVON.


Apply a base colour of your choice. I use Barry M Gelly range as only 1 coat is needed.


Using the nib, draw a small horizontal line and 2 V's either side.

Add a dot onto the end of each line and fill in the gaps inside.
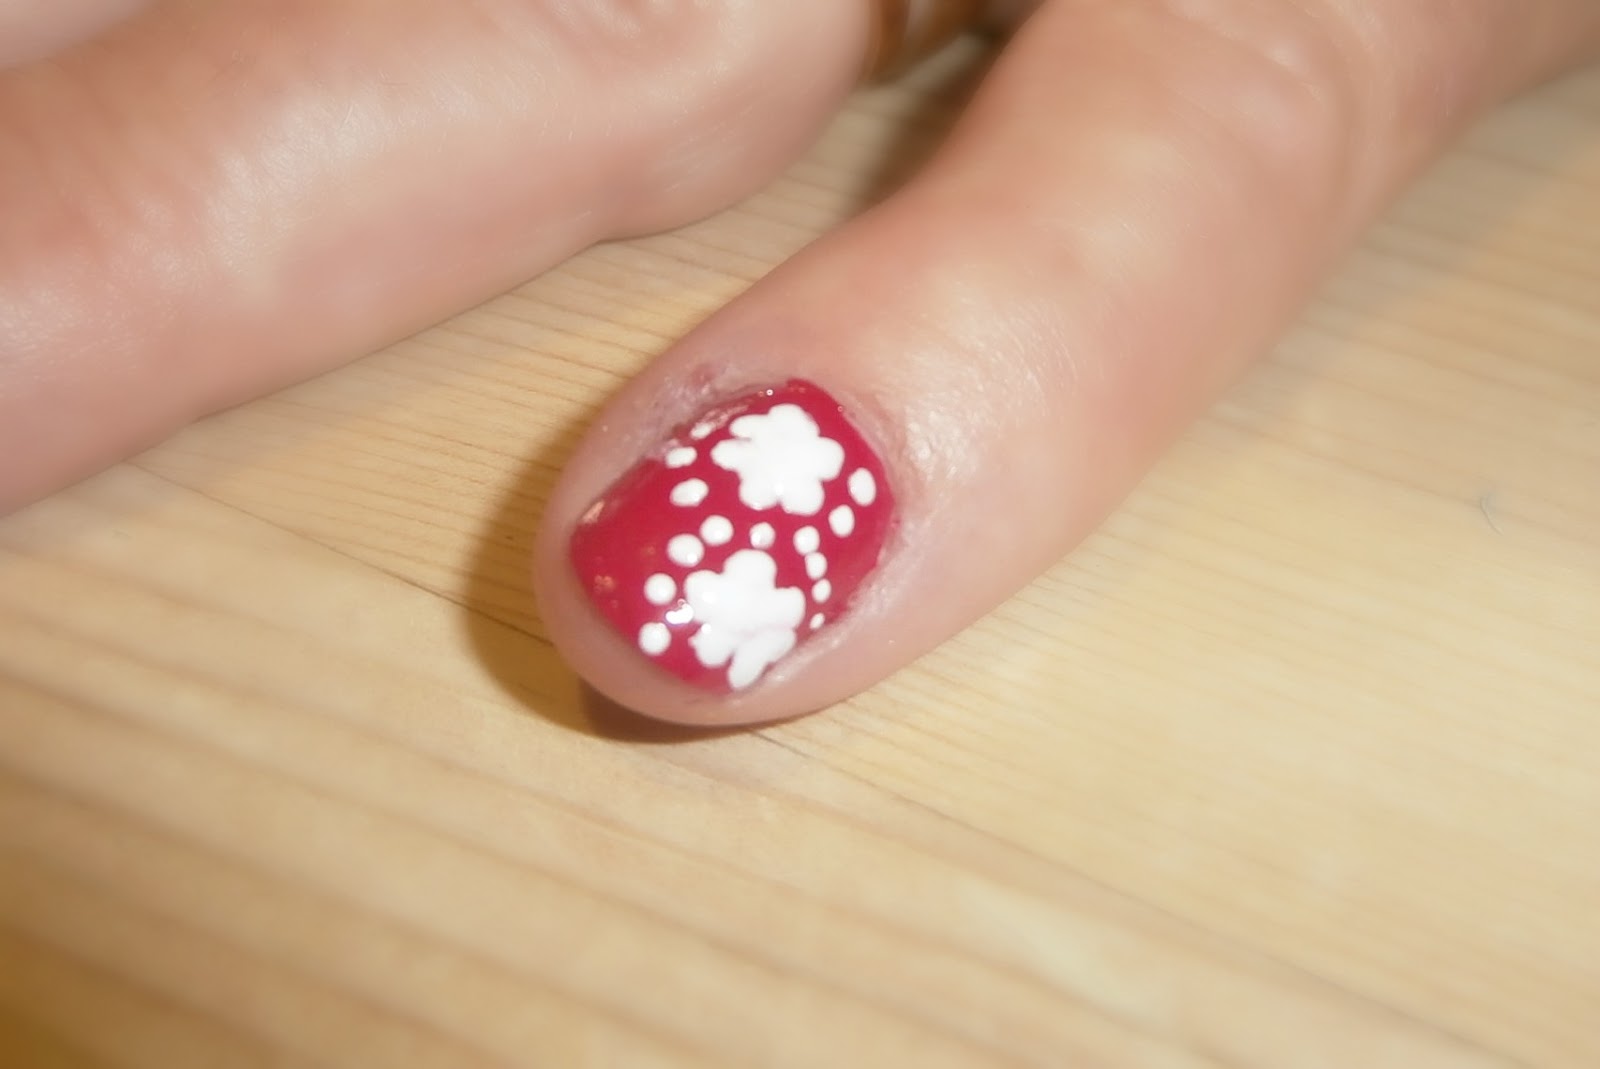
Using the nib, add small dots around the white cloud

I like to alternate the corners the design is on.


Using the nib, add a large pale pink dot in the middle of each white cloud.


Make 2 or 3 little green lines coming from the edge of the pink dot to the edge of the white cloud. You can use the striper brush or the nib of the nail art pen.


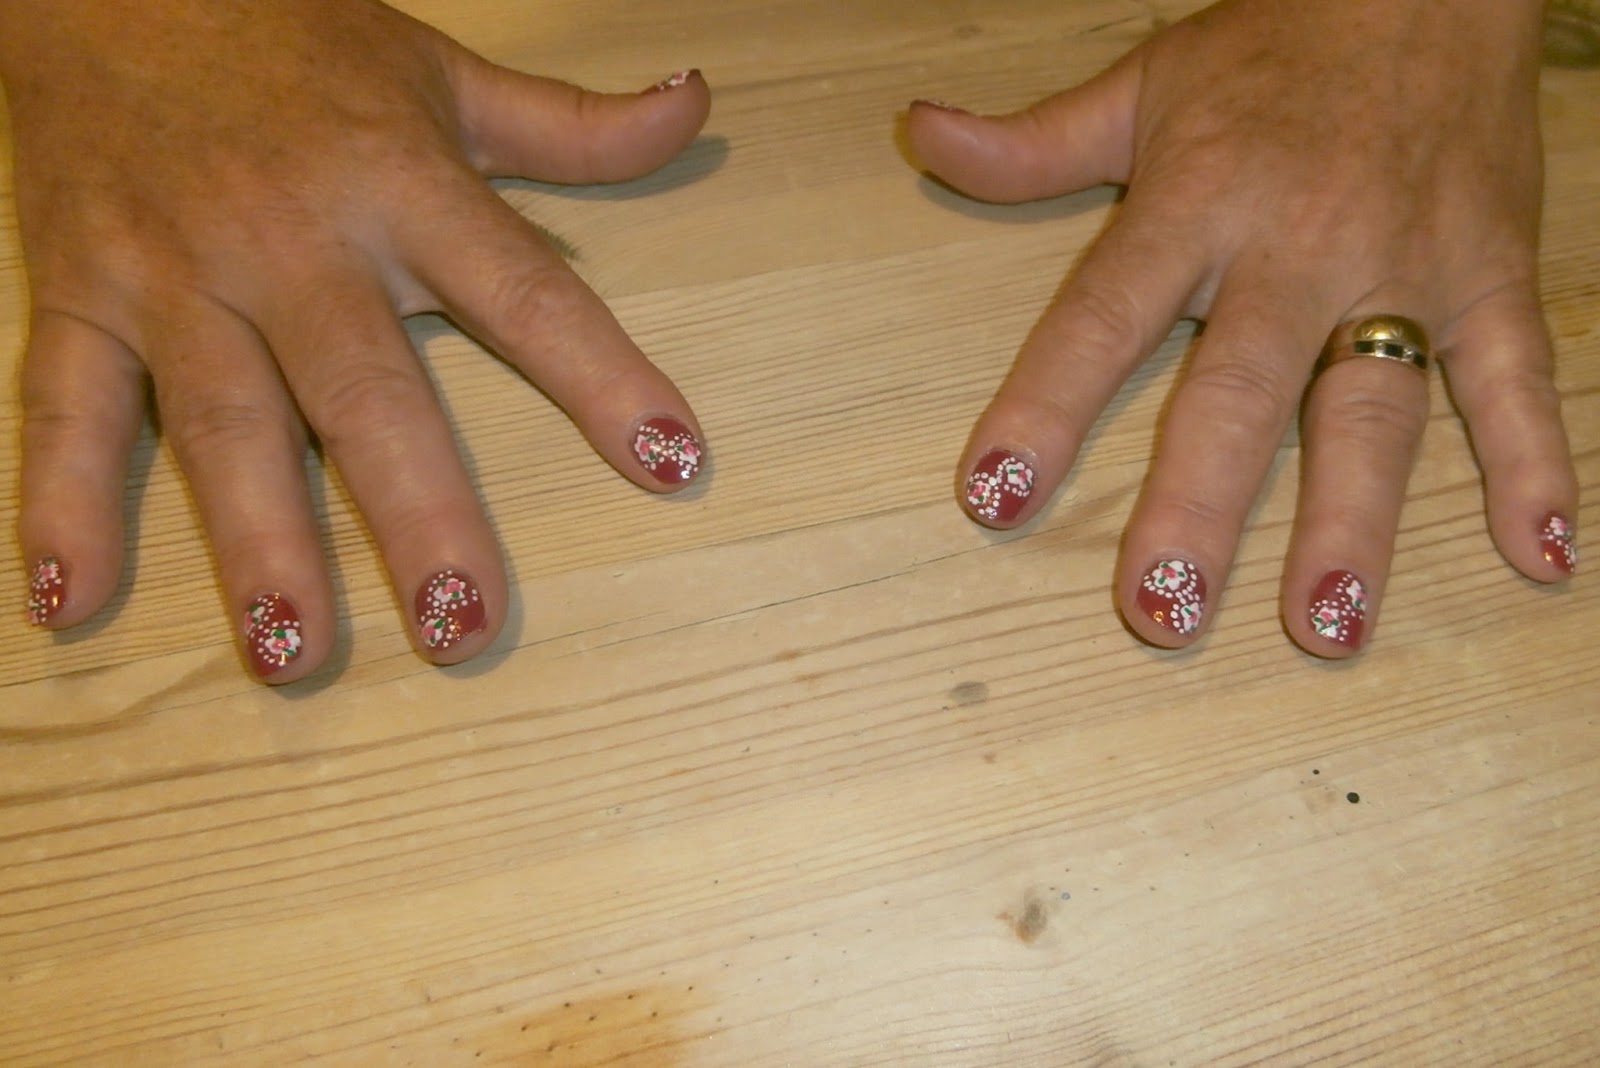
Using the nib, add small darker pink squiggles in a semi circular shape to the centre of the pale pink dot to give the rose effect.

Top Coat will prolong the wear. I find that this is the best Top Coat when using nail art because it doesn't drag the paint as it sweeps over it.
This design also looks nice in blue.

Please leave a comment if you have tried this design and tell me how you found the tutorial
AliciaEmmie
x
No comments:
Post a Comment